
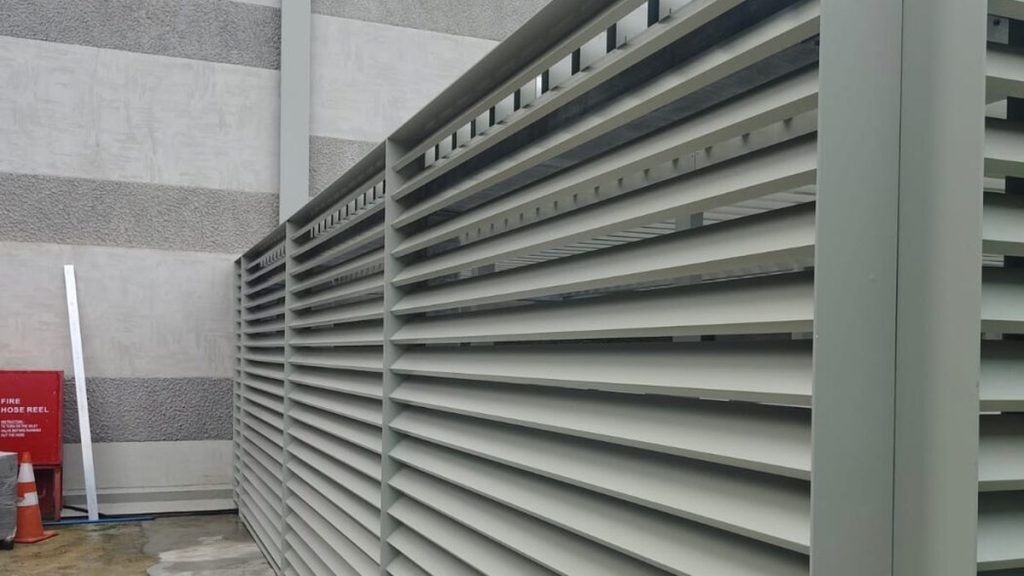
Cutting is one step out of eight. Knowing the whole sequence, and what drives cost and lead time at each stage, is how a fabrication package stays on schedule.
Related service: metal fabrication in Singapore.
We run the fabrication workflow in Singapore as one scope, from design information through to installed metalwork, with abrasive waterjet as our lead cutting process for plate.
Most metalwork problems on site are not welding problems. They are information problems. A dimension nobody confirmed. A tolerance nobody stated. A finish specified after the parts were already cut. A site condition that moved while the workshop was building to an old drawing.
Here is how a waterjet-and-laser-weld job runs from enquiry to handover, and what you can do at each stage to keep it on track.
1. Enquiry and Design Intent
We can start from a full set of shop drawings, an architect’s design intent, or a sketch over a photograph. The minimum we need is material and grade, thickness, quantity, finish, the tolerance that actually matters, and how the item fixes to the building. That last one is the most frequently omitted and the most frequent cause of trouble.
Send with your enquiry
- Geometry. DXF, DWG or STEP if you have it, a dimensioned PDF or sketch if you do not.
- Material. Alloy and grade (316L stainless, 5083 aluminium and so on), thickness, and whether you need a mill certificate.
- Finish. Brushed, polished, powder-coat RAL, anodised, or self-finish.
- Quantity and programme. Including whether this is a one-off, a prototype, or a repeat run.
- Site information. Location, access, working hours, and whether we are installing.
2. Quotation, and What Drives the Price
Four factors dominate the cutting cost: material and thickness, total cut length including every internal profile, the number of pierces, and how efficiently the parts nest on a standard plate. Everything after that (folding, machining, welding, finishing, delivery, installation) is quoted as separate lines so you can see where the money goes and value-engineer properly. Doubling the quantity rarely doubles the price, because setup, programming and nesting are largely fixed.
3. Shop Drawings and Approval
Before any material is cut we produce shop drawings showing every component, joint, fixing and finish, and issue them for approval. This is the cheapest point in the job to change your mind. It is also where we flag what will cause problems later: a joint that cannot be welded once assembled, a panel too large for the lift, a fixing that lands on a structural member, a tolerance the material will not hold.
4. Site Measurement
For anything that has to fit an existing opening, wall or floor, we measure on site rather than trusting the architectural drawing. Buildings are not built to drawing tolerance. Where an item has to be fabricated to a nominal dimension because site is not ready, we design in an adjustment (a scribe, a slotted fixing, a cover trim) instead of gambling on the gap being where the drawing says.
5. Nesting and Cutting
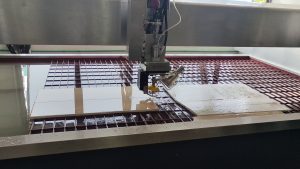
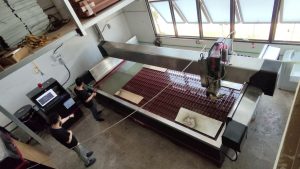
Approved geometry becomes a cutting file. Parts are nested to minimise waste and the process is chosen component by component: waterjet for thick plate and marine-grade stainless, laser for thin sheet, saw for extrusions. Every piece is labelled against its drawing reference as it comes off the table, then deburred and dimensionally checked before it reaches the welding bench. On critical components we cut and check one before committing the batch.
6. Forming, Welding and Assembly
Folding, punching and light machining come next, then joining. Finish-critical seams in stainless steel and aluminium go on our fibre laser for minimal distortion; heavier structural joints are arc welded. Assemblies are built in jigs so the geometry is held while the joint is made, and larger items are trial-assembled against the setting-out drawings before delivery. Finding an interference in Woodlands costs an afternoon. Finding it on site costs a week.
7. Finishing and Protection
Finishing goes on after fabrication so cut edges, welds and drilled holes are all protected: powder coating in any RAL colour, anodising for high-traffic aluminium, or brushing, polishing and passivation for stainless. Finished items are then wrapped or filmed for transport, and that protection stays on through installation until handover.
8. Delivery and Installation
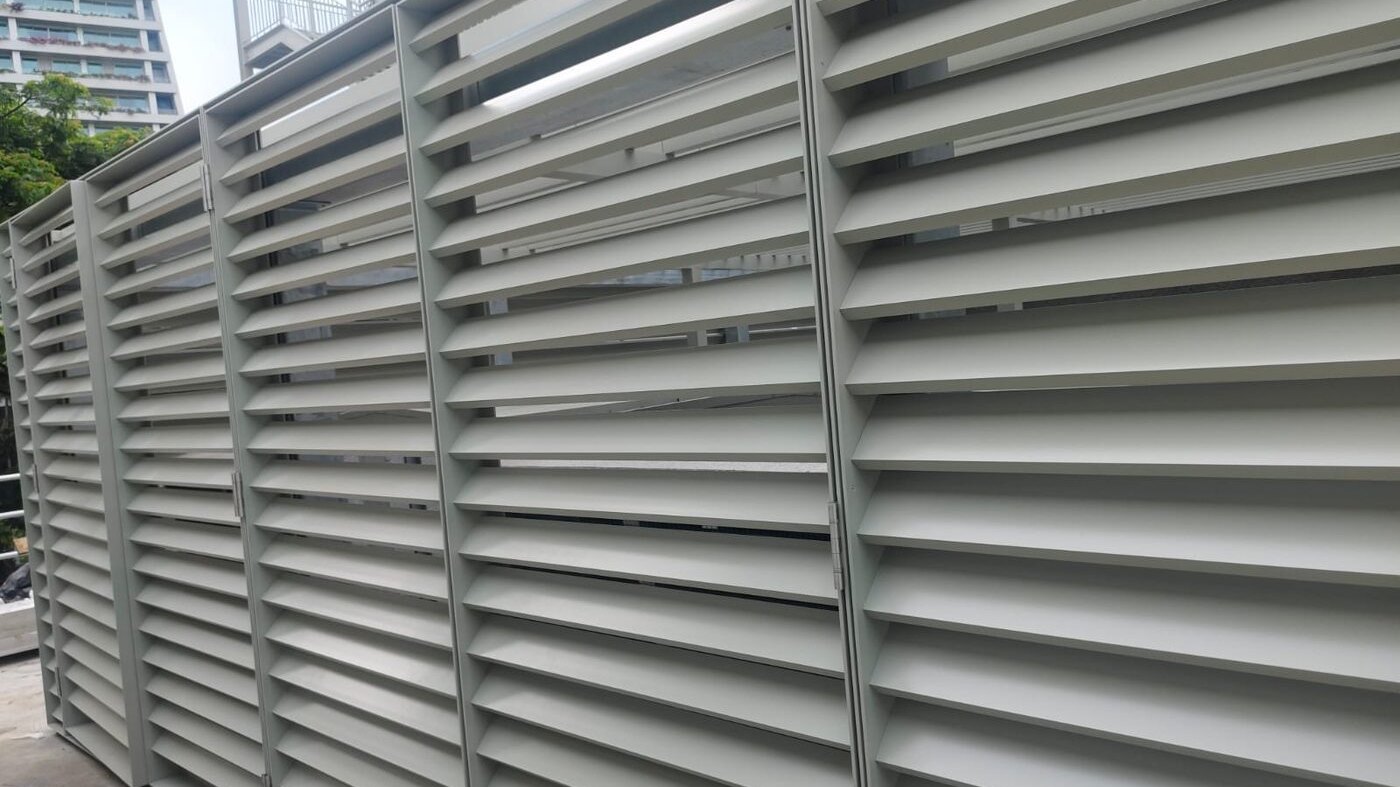
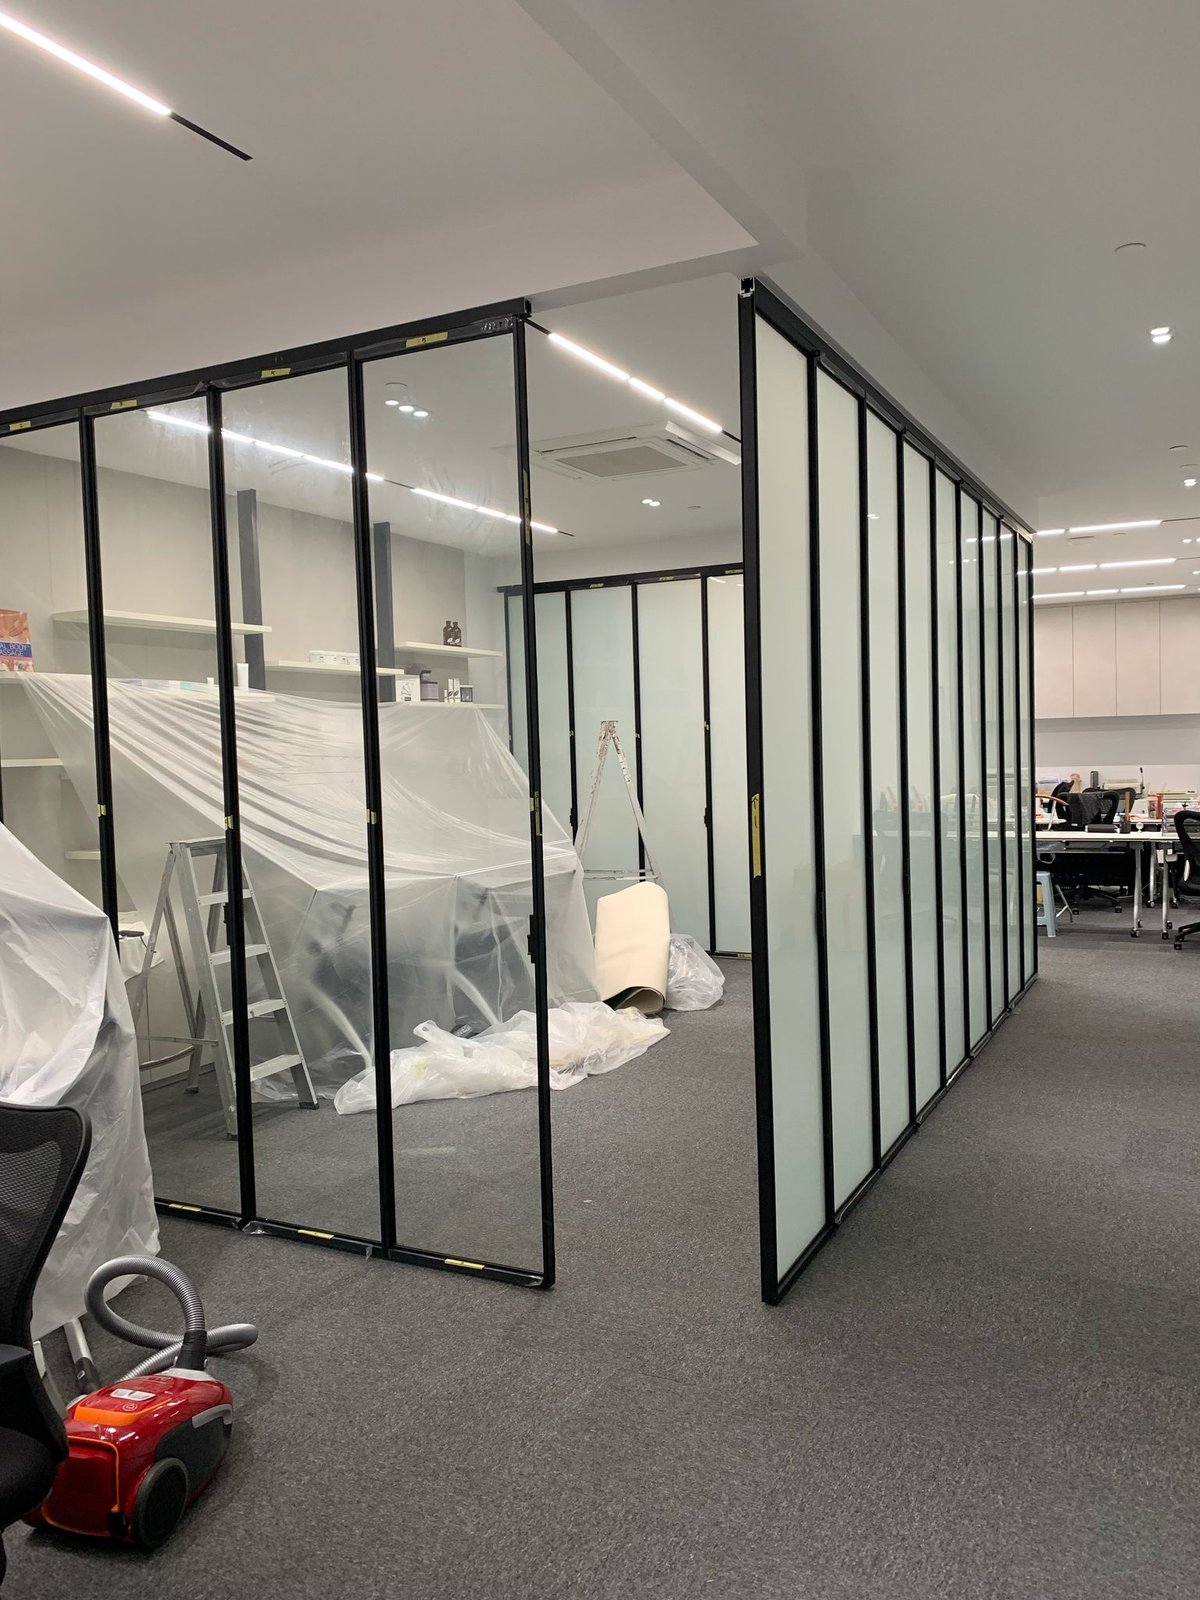
Our own site teams deliver and install, coordinating with the main contractor on access, hot works permits, lifting and programme. Because the team installing the work belongs to the company that fabricated it, nothing falls into the gap between as-fabricated and as-installed. One purchase order, one point of accountability, one warranty.
Typical Lead Times
Those periods are indicative for a job of moderate size and remain subject to workshop capacity, drawing approval, material availability and finishing slots. Special material on indent, anodising, and large or complex assemblies all stretch the programme, which is why the enquiry should happen earlier than most programmes assume.
Five Ways to Keep a Job on Programme
- State the tolerance that matters. Not every dimension needs to be tight, and pretending they all do costs money.
- Fix the finish before cutting. A late switch from powder-coat to brushed stainless can change the material, the process and the price.
- Approve drawings promptly. The workshop cannot start, and the slot you were allocated goes to someone else.
- Confirm site conditions before fabrication. Or design in an adjustment and say so.
- Talk about fixings early. How an item attaches shapes how it is built, and retro-fitting a fixing detail is always more difficult and more expensive.
Frequently Asked Questions
Do you take on one-off and small jobs?
Yes. Single brackets, replacement covers, prototype parts and small architectural items are normal work. Small quantities carry proportionally more setup cost, which we show as a separate line so you can decide whether to run a few spares while the machine is set up.
Can you work from a sample or a broken part?
Yes. We regularly reverse-engineer from a physical sample or a damaged original, produce a drawing for approval, and fabricate the replacement.
Do you handle installation, or cutting only?
Both. The value of using us is the complete chain under one contract, though we do also supply cut and fabricated parts to other contractors.
What happens if a part does not fit on site?
We investigate the cause and agree the appropriate rectification route against the approved drawings, the agreed tolerances and the contract scope. That is the practical difference between a fabricator who installs and a supplier who ships to your door: the conversation does not stop at the loading bay.
The information in this article is general project guidance. Final material grades, fabrication methods, tolerances and acceptance criteria should be confirmed against the project specification, approved drawings, applicable standards and actual site conditions.
More in Metal Fabrication
 Integrated Glass, Aluminium & Metal Components in Imported Furniture: Why Luxury FF&E Needs Multi-Trade Installation Coordination in Singapore
 Waterjet Cutting for Thick Aluminium and Stainless Steel Plate in Singapore
 Waterjet, Laser or Plasma? Choosing a Cutting Process for Aluminium and Stainless Steel